[ad_1]
Numbering records in a report can make it more readable. It’s a familiar element that helps readers discern the current record from the previous and the next. In addition, it has actual analysis value because the number means something — the number of students, the number of products, the number of orders and so on. You can even sort by the results to get a top 10 list. Fortunately, numbering records in an Access report is easy.
In this article, you’ll learn how to number records in an Access report. We’ll use an existing report to simplify things, but in doing so, we’ll expose a problem. Don’t worry though, the solution is simple, but it’s the type of thing that can happen when working with existing Access objects.
Number records in a simple Access report
I’m using the Northwind legacy database that comes with Access 365 (Figure A). If you want to follow along, be sure to respond to the Enable Content prompt so you can modify the database. In addition, the database will prompt you to log in.
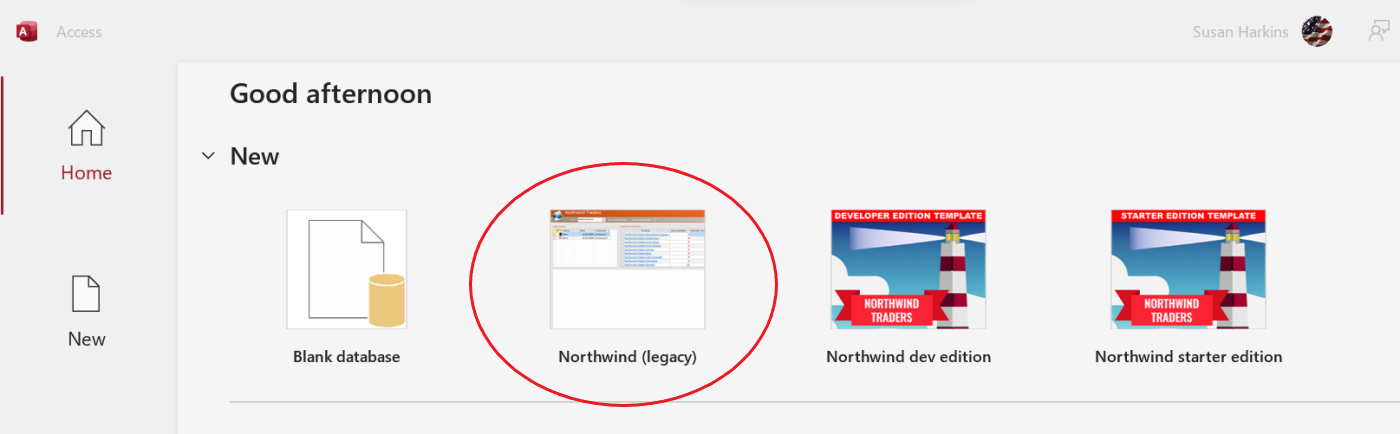
For our purposes, it makes no difference which employee you choose.
ACADEMY: Buy and learn how to use the applications in Microsoft Office Pro Plus 2019.
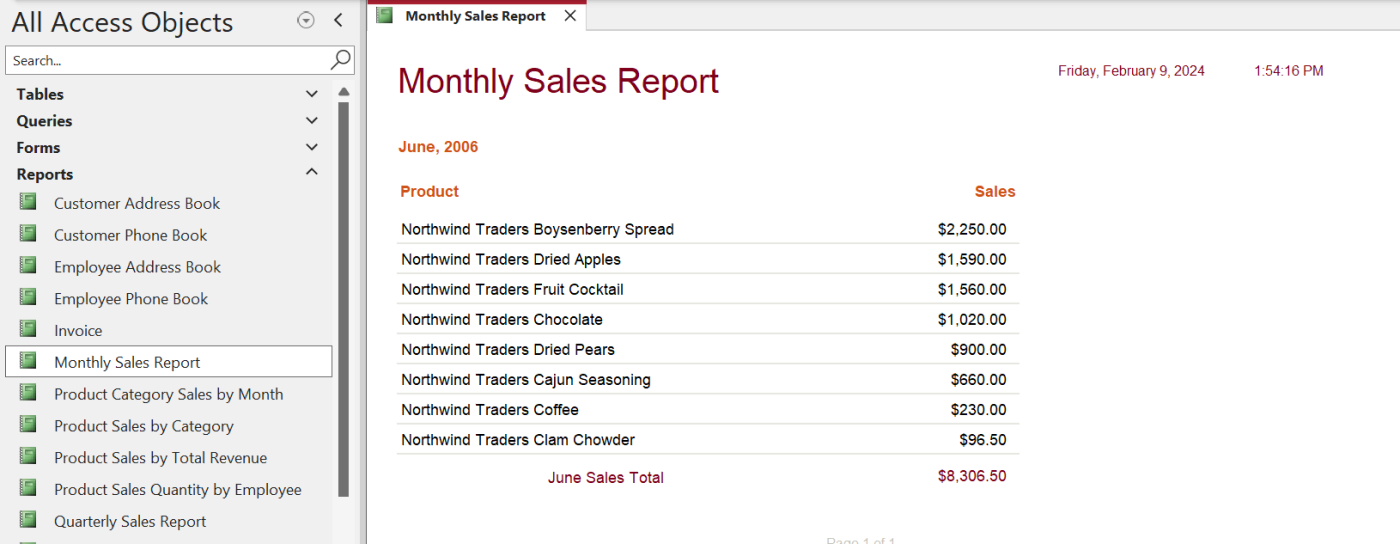
We’ll add a numbering line to the existing Monthly Sales Report report shown in Figure B. You can use almost any report to follow along, though.
How to access the report
Northwind will open the main form, which you can leave open or close.
Let’s start by accessing the Monthly Sales Report report as follows:
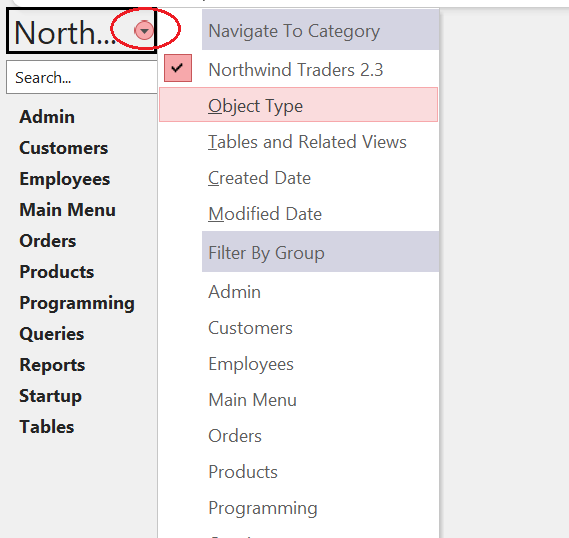
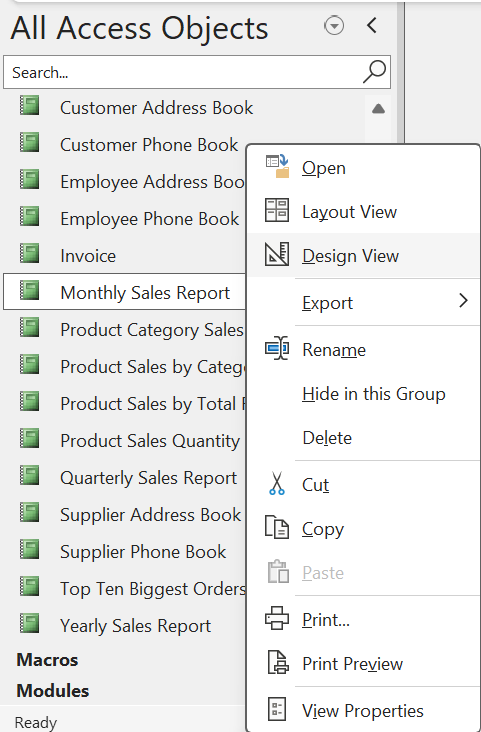
- In the Navigation Pane, click the Northwind dropdown at the top, and choose Object Type (Figure C). Doing so will give us quick access to all the reports in the database.
- Expand the Reports section, and find the Monthly Sales Report. Right-click it to open it in Design View (Figure D).
How to add the new control
With the report open in Design View, you’re almost ready to add a new control to the Details section. Before doing so, you must move the existing controls to the right to make room. If you’re working with your own report and you don’t need to take this step, you can skip to the next section.
If you’re following along with the example report, do as follows:
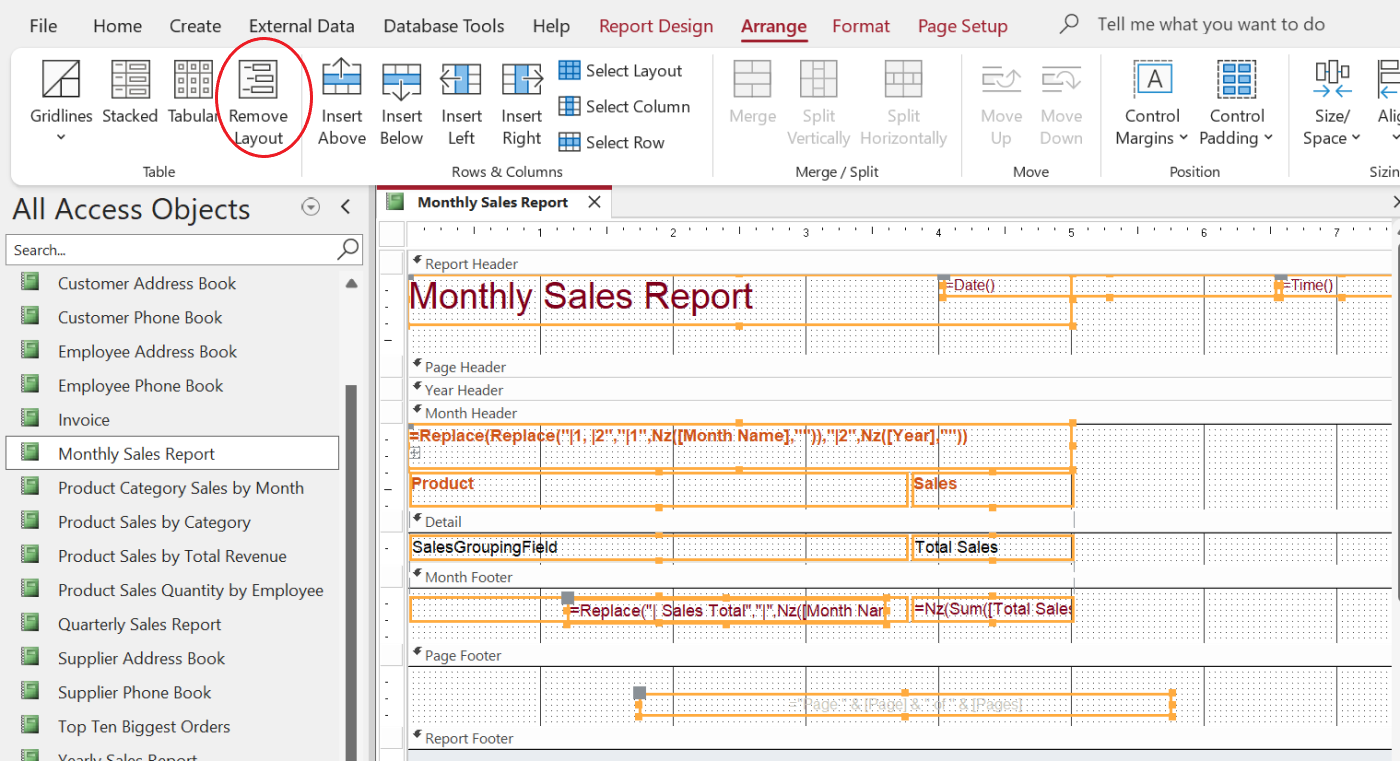
- Press Ctrl+A to select all the controls in the form.
- Click the Arrange tab.
- In the Tables group, click Remove Layout (Figure E). This step won’t always be necessary, but if this setting is enabled, you can’t move controls until you turn it off.
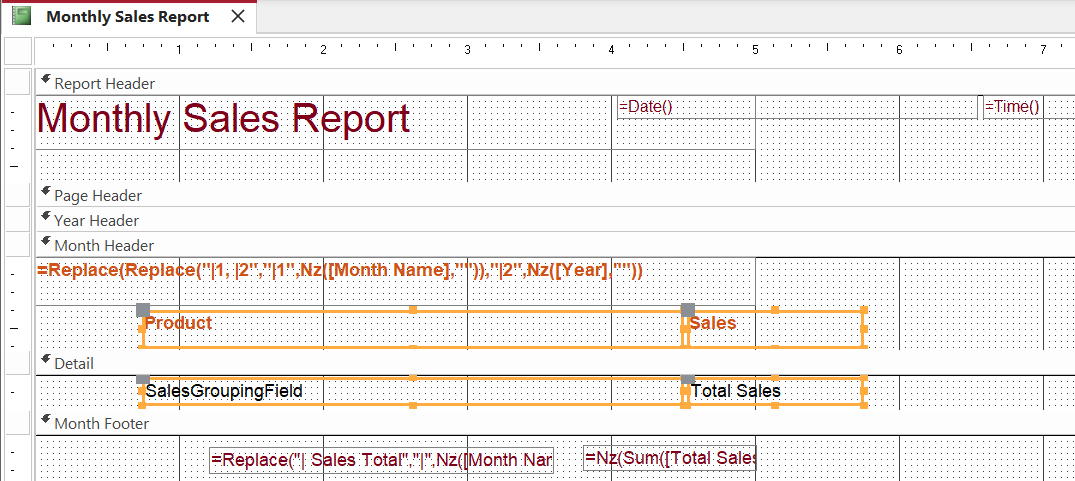
- Click anywhere on the form’s background to deselect all the controls.
- Hold down the Shift key, and click the Product and Sales controls in the Month Header section. Then, click the SalesGroupField and Total Sales controls in the Details section.
- Drag the two controls to the right, enough to make room for a new numbering control (Figure F).
After making room for the control, adding it is a snap:
- Click the Report Design tab if necessary.
- Click Text Box in the Controls section.
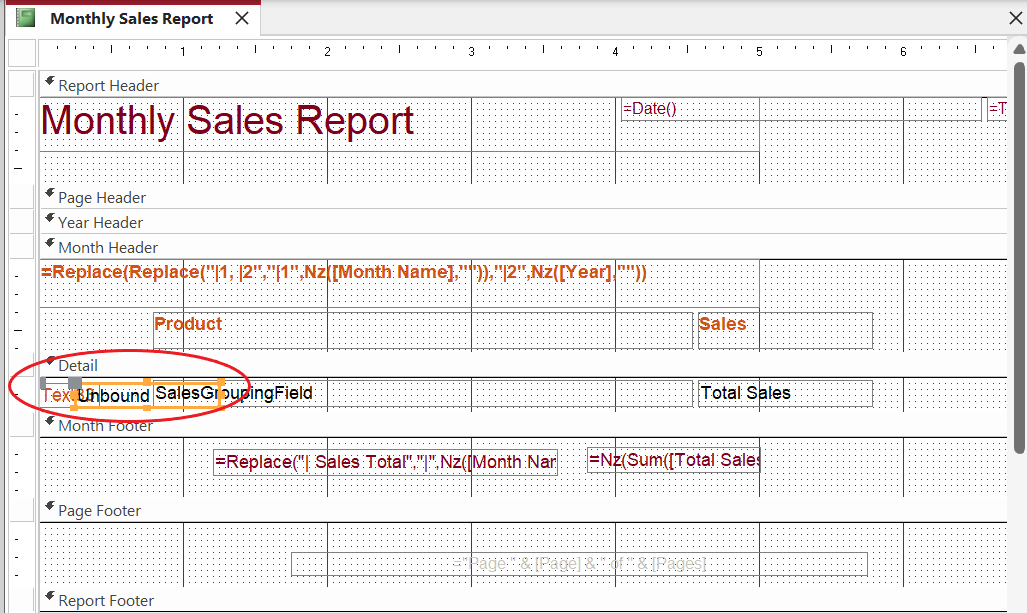
- Click inside the report’s Detail section, to the left of the four controls you just moved, to drop in a Text Box control (Figure G). Right now, it’s difficult to discern because it extends over an existing control.
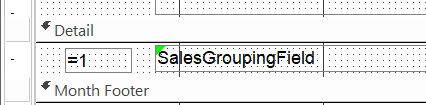
- Select the text box, and enter the expression =1 (Figure H). The expression will be the control’s Control Source property.
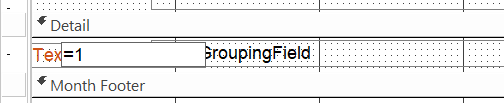
- With the Text Box control still selected, grab the right edge and drag it to the left to reduce the width, so you can see the existing control.
- Next, you can barely see the Text Box control’s label behind the Text Box control. Select it separately, and press Delete (Figure I).
How to calculate a running total
At this point, the control is in place and visible in Report View, but it won’t return a list of consecutive numbers. As is, it will return the number 1 for each record. Fortunately, this is a simple fix:
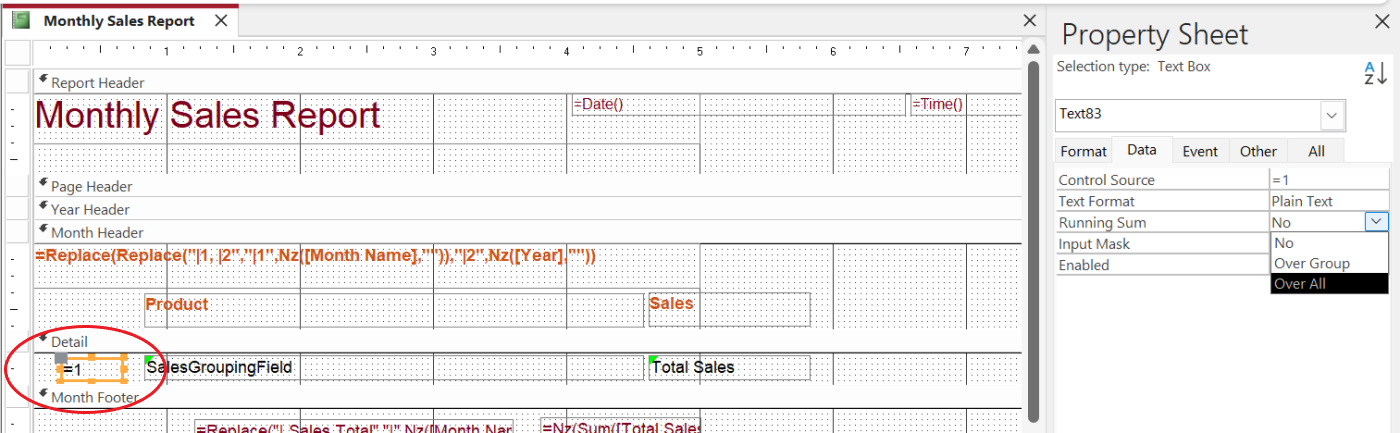
- With the Text Box control still selected in Design View, click the Data tab in the Property sheet. If the Property sheet isn’t visible, double-click the Text Box control to open it.
- Change the Running Sum property to Over All from the setting’s dropdown (Figure J).
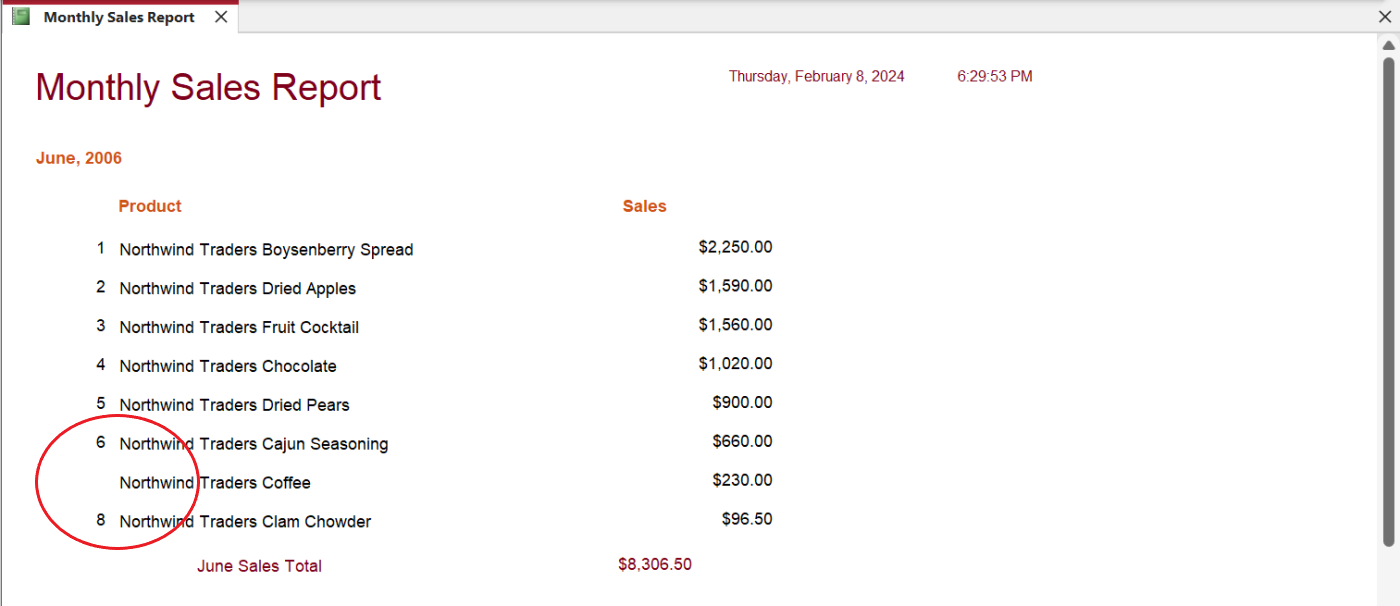
You’re finally ready to view the report, so choose Report View from the Views dropdown in the Views group. You can also right-click the report’s tab and choose Report View. Figure K shows the results, which has a bit of a surprise; the number 7 is missing.
Troubleshooting
When working with your own data and reports, it’s unlikely you’ll run into an error such as this, but that’s why I chose this specific report. There’s a lot going on that we haven’t discussed, and that’s why the numbering control doesn’t work as expected.
SEE: Not sure if Access is right for you? Check out these top database DevOps tools.
The short solution is to change the Running Sum setting from Over All to Over Group. Admittedly, that doesn’t make sense — not yet — but it works.
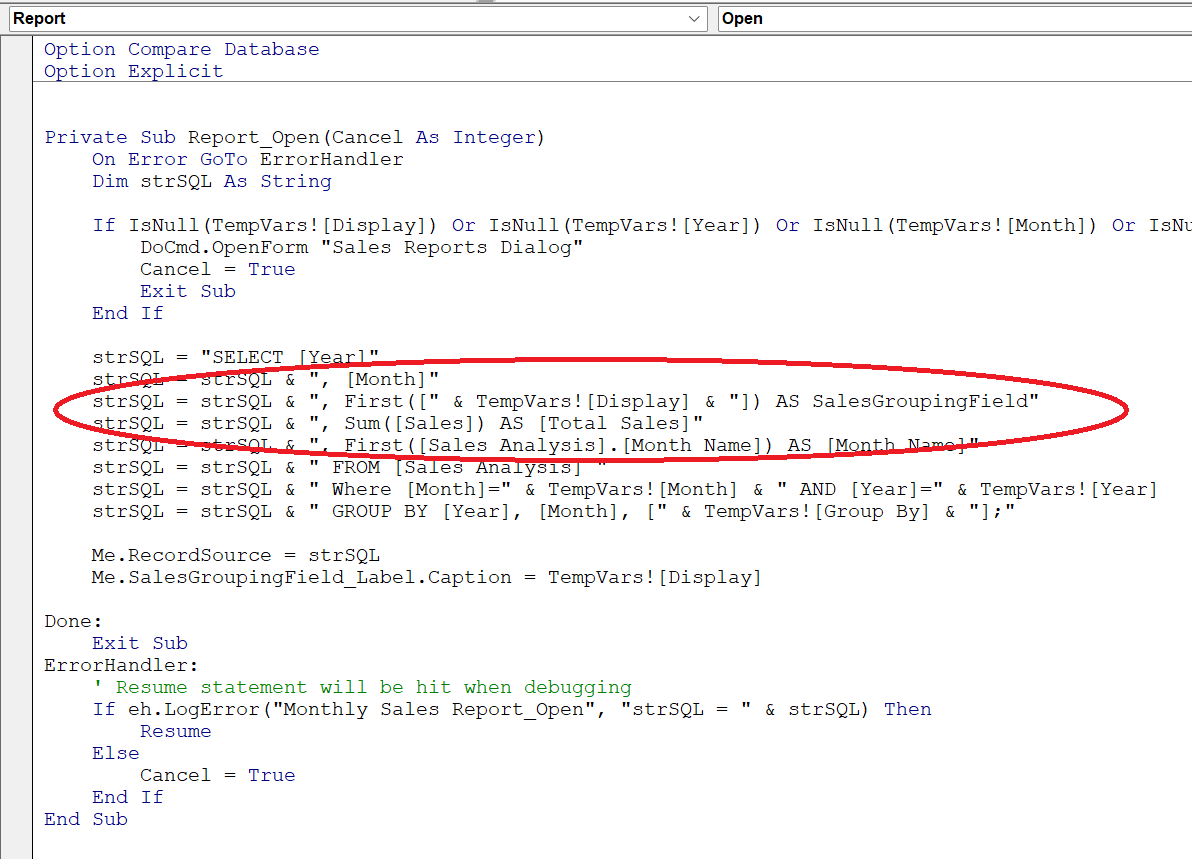
With a bit of sleuthing, you can find an open report event procedure that sets the value for the SalesGroupField and Total Sales fields (Figure L). Without going into a lot of technical explanation, the report is a grouped report, but you’d not know that from viewing the report in Design View.
When modifying an existing report, it’s easy to run into situations where the report doesn’t work as expected. When this happens, look for a VBA event procedure or a macro.
A word about AutoNumber
You might be wondering if adding an AutoNumber field might be easier. AutoNumber fields ensure uniqueness, not proper sequencing. It’s the wrong tool for the job and can have unintended consequences:
- When you depend on how the underlying query or report filters records, there’s no guarantee the AutoNumber values will consecutively number your report’s records correctly.
- If a record is deleted from the table, so is the AutoNumber, which means the subsequent numbering scheme in the report will have a missing number.
By following the steps in this article, you can effectively add sequential numbers to your Access report, improving its clarity and usability for readers.
[ad_2]
Source Credit