
[ad_1]
When working with networked Macs or managed Mac systems in a business, it can be commonplace for administrators to view and change file and folder permissions. Of course, this can easily be accomplished using the Finder’s Get Info window, but sometimes you need to perform this action on multiple files or folders and more finely tune the permissions.
Enter the command line — after all, the Mac is based on Unix and has a Terminal built in. Or, you can easily SSH into a Mac to perform these file or folder permissions changes remotely. This process allows enterprise administrators to more quickly and precisely manage their fleet of Macs.
Let’s see what it takes to change the file permissions on a Mac, and how it can be accomplished locally or remotely through the command line.
SEE: Before getting started, we highly recommend familiarizing yourself with these Mac Terminal commands.
The ls command
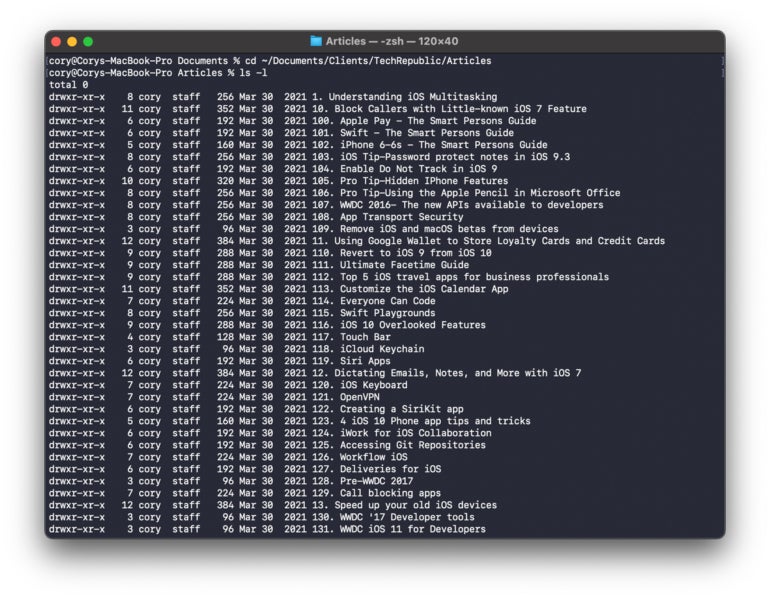
To get started, administrators must be familiar with the ls command. The ls command displays file and folder information for the folder you’re currently inside of in the command line. Using the -l option (that is, ls -l), the ls command will display additional information about each file and folder in the working directory, including permissions for each file as shown in Figure A, versus using the ls command alone which doesn’t provide detailed information about the working directory. When thinking about the option, consider it the “long” version of the ls command to list the file structure. The leftmost text on each line will be the permissions for the folder or file.
So what do these characters mean for permissions?
You might be asking yourself as you’re viewing the file permissions through the ls -l command in the command line: What the heck do these characters all mean? We’re glad you asked. Here’s a primer on what each character means from the leftmost position to the rightmost.
Let’s break it down column by column for a line displayed when running the ls -l command:
- First character (e.g., d): The first set of letters, such as for the first line, read
drwx. dmeans the item is a folder. If it were a-, that would indicate a file, whilelspecifies a symbolic link. - Owner’s permissions (first grouping) (e.g., rwx): The next three characters,
rwxin this case, specifies the owner’s permissions. A–would indicate no access, while r specifies read access,wspecifies write access, andxindicates file execute or folder browsing access. - Group’s permissions (second grouping) (e.g., xr): The next set of dashes (—) specify the group’s permissions. They follow the same rules as above for no access, read access, write access and execution access.
- Other’s permissions (third grouping) (e.g., x): The next set of dashes (—) specify the permissions for anyone on the computer that’s not the current user or group. They follow the same rules as above for no access, read access, write access and execution access.
- Owner’s name and grouping: Next appears the number of hard links associated with the listed item. Then comes the owner’s name and the assigned group, followed by the octal notation value (0 for no access, 1 for execution, 2 for write only and 4 for read only) for each entity (user, group and everyone else) added together. Finally, the date and time the item was last updated is recorded, followed by the item’s name.
Changing ownership (chown) of a file or folder
To change ownership using the command line, enterprise Mac administrators should use the chown command (Figure B). The command requires root access, so an administrator must be logged in to execute the command, or the sudo command must be used.
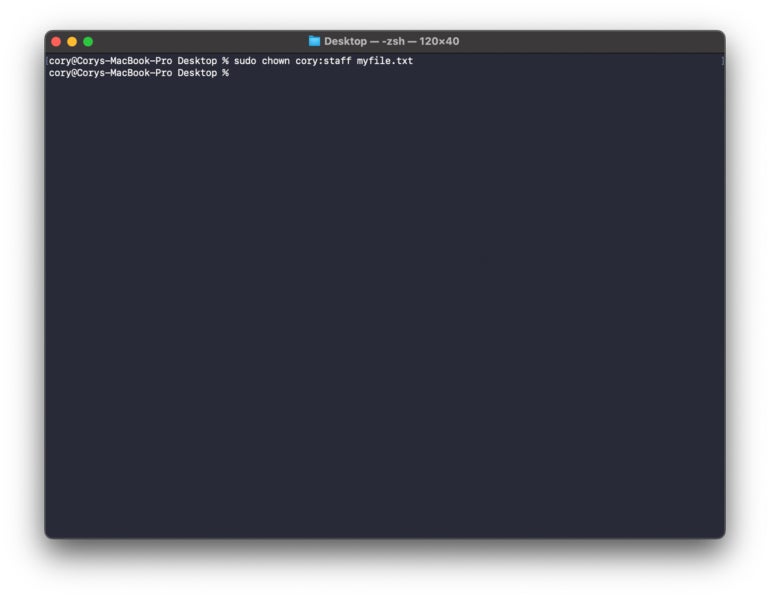
Run the chown command by entering chown, then the user’s name, then (optionally) a colon with the new group name if desired, and then the item’s path. For example, the chown command might look like this if wanting to change ownership of a file named test1.docx located within the Desktop folder to the user Cory and the group staff:
sudo chown cory:staff Desktop/test1.docx
Changing permissions (chmod) of a file or folder
To change permissions using the command line, enterprise Mac administrators should use the chmod command. Again, as with the chown command, when using the chmod command to change files your user account does not own, you must use the sudo command.
To change permissions using the command line, enter chmod followed by the account type (u for owner, g for group and o for everyone), modifier (+ specifies allow, – indicates deny and = specifies an exact setting), and the privilege (r for read, w for write and x for execute or folder access) (Figure C).
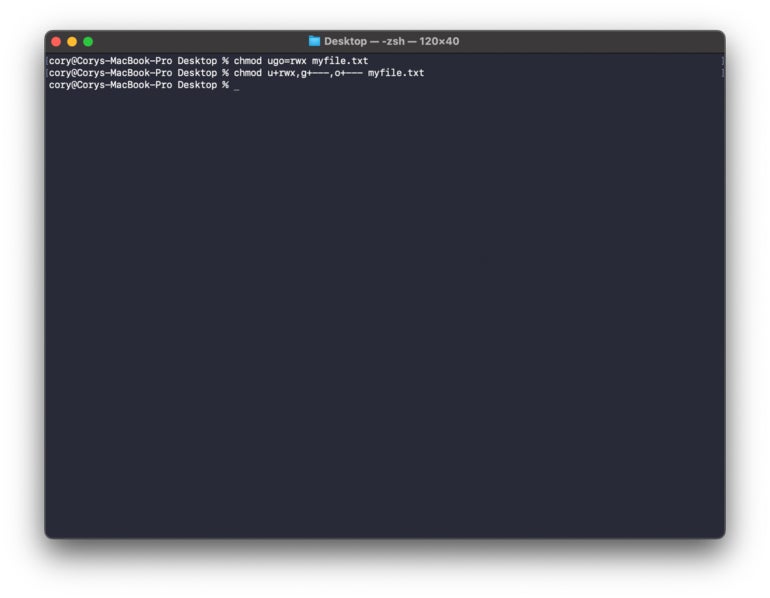
For example, to change the permissions of the test1.docx file to provide user Cory with read, write and execute permissions and change the group and everyone permissions to also include read, write and execute permissions, an administrator can type:
chmod ugo=rwx Desktop/test1.docx
Or, to change permissions for that file back to providing the user Cory with read, write and execute access and to eliminate access for the group and everyone else, an administrator can type:
chmod u+rwx,g+---,o+--- myfile.txt
Using octal notation
If you don’t want to type out each user group and its permissions, an alternative available to administrators is to leverage what’s called octal notation. Running the chmod command with octal values, such as by typing chmod 775 Desktop/Folder, enables quickly setting specific permission values for all three groups in one fell swoop.
In the example of chmod 775 Desktop/Folder1, the administrator would extend read, write and execute access to the owner and group but simple read-only access for everyone else for the folder named Folder1.
Command line saves enterprise admin time
Because files and folders can be quickly navigated from within a console menu, changing permissions from the command line makes chmod and chown handy for enterprise administrators looking to make many and specific changes to folders and files.
The process is much quicker from the command line than it would be opening Finder, locating specific files and folders, right-clicking them individually, selecting Get Info and making manual changes and then repeating the entire process for the next item in the list requiring updates.
SEE: Save more time by learning how to search the current folder on your Mac via Finder.
[ad_2]
Source Credit