[ad_1]
Install a third-party app to send a fax from your iPhone.
We’ve likely all been there: You need to send a quick document to someone insisting the information arrive via fax, yet you no longer have access to a fax machine, and you may not want the complexity of an efax app. Thankfully, it’s easy to send a fax using just an iPhone using the FAX.PLUS app. No fax machine or fax number is needed.
PREMIUM: Check out this BYOD approval form.
With the FAX.PLUS app, you can fax an initial 10 pages from an iPhone. Additional credits can be purchased as needed if more than 10 pages need to be faxed. Other available monthly and annual plans support from 200 to 4,000 fax pages per month. An enterprise plan may be of interest to health care organizations because it allows businesses to sign a Business Associate Agreement with the vendor in order to comply with the Health Insurance Portability and Accountability Act, known as HIPAA.
Jump to:
How to install and set up the FAX.PLUS app
- Go to the App Store, search for Fax.Plus – Receive & Send Fax (Figure A).
Figure A:
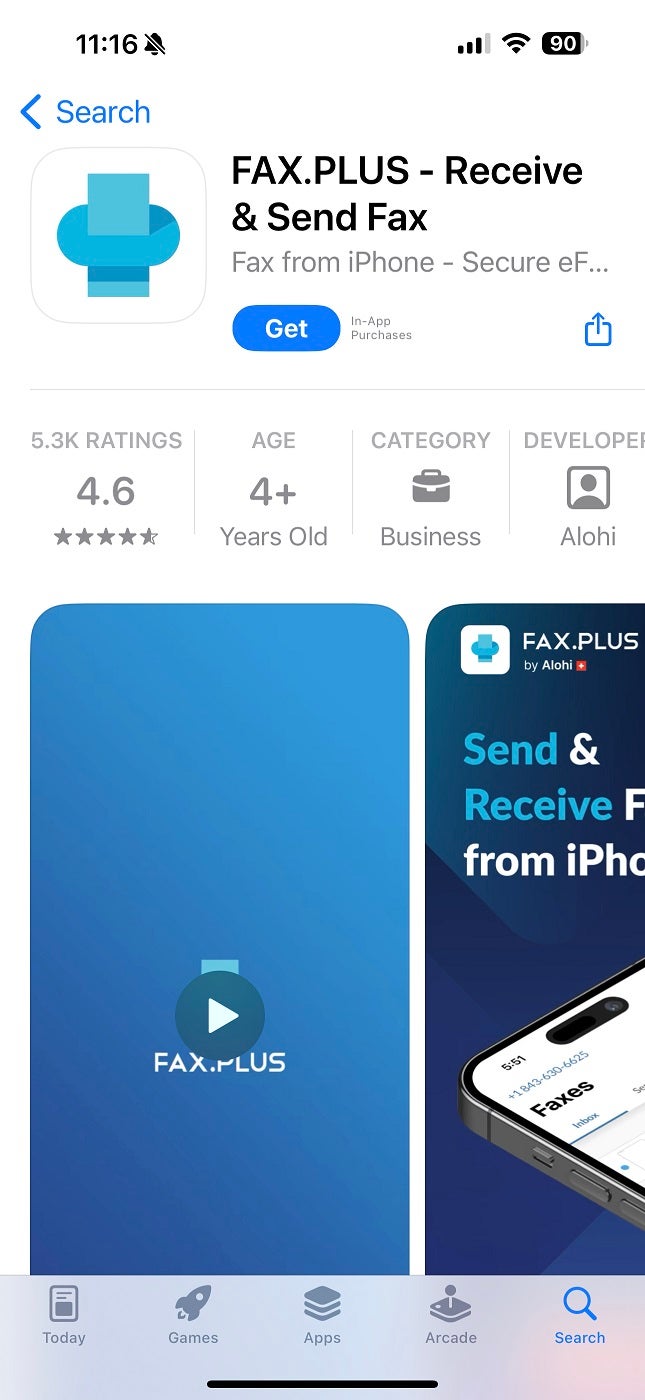
- Tap on the app, then tap Get and confirm that you want to install it.
- Tap to open the app.
- Next, tap Sign in with Apple. Alternatively, you may sign in with an existing account or create an account with email, Google or SSO (Figure B).
Figure B:

- Assuming you selected Sign in with Apple, tap Continue.
- Next, tap Sign up.
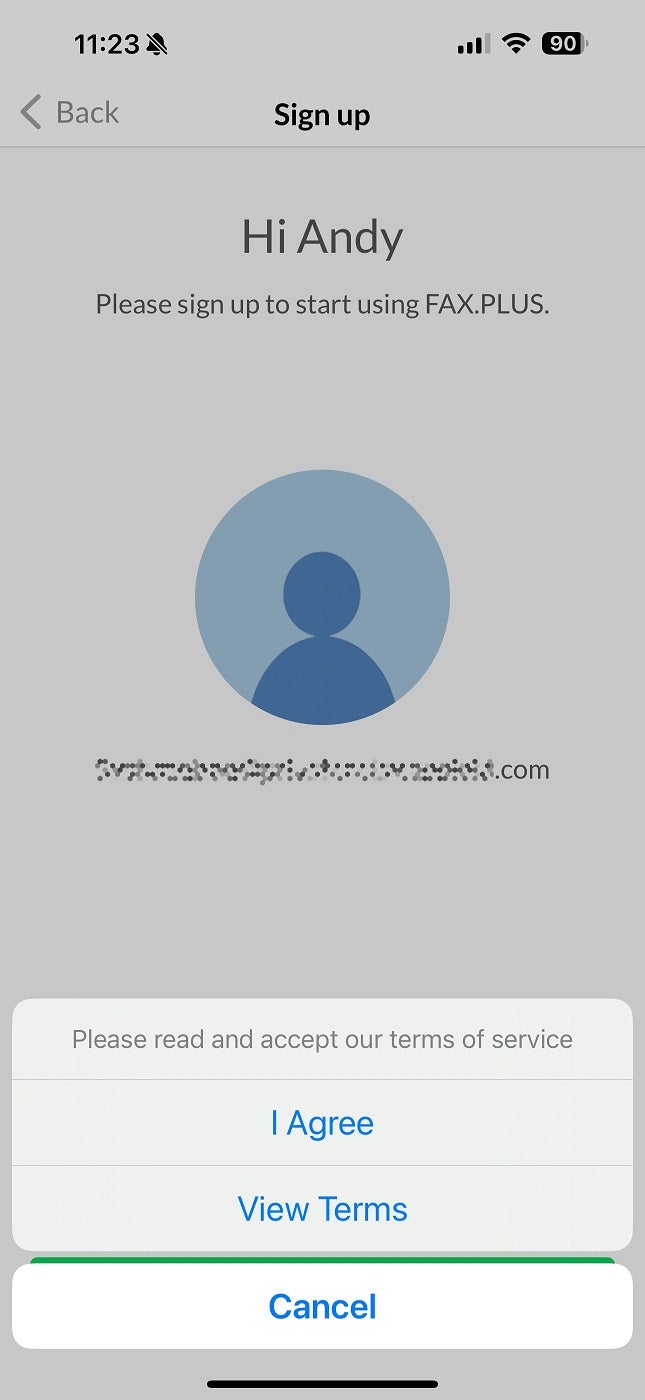
- At the prompt, tap View Term to read the terms of service. If you agree, tap I Agree (Figure C). Otherwise, tap Cancel.
Figure C:
- Next, select your country and enter your phone number (Figure D). Some virtual services, such as Google Voice numbers, may not be accepted.
Figure D:

- When prompted, enter the code received via SMS.
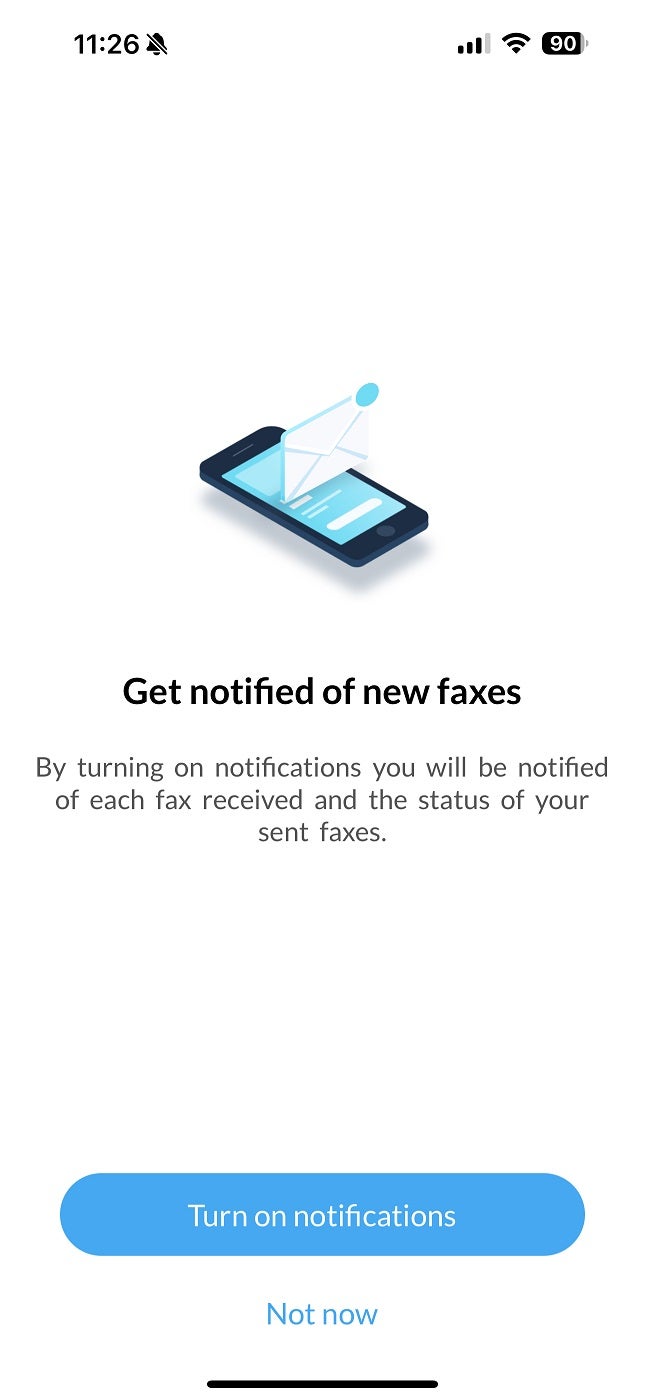
- Choose whether or not to receive notifications (Figure E). If unsure, select Not now.
Figure E:
- Choose whether or not to give the application access to your contacts. (If unsure, select Not now.)
How to send a fax from iPhone with FAX.PLUS
After the initial setup, you’re ready to send a fax from FAX.PLUS.
- Tap Send Fax.
- Tap either:
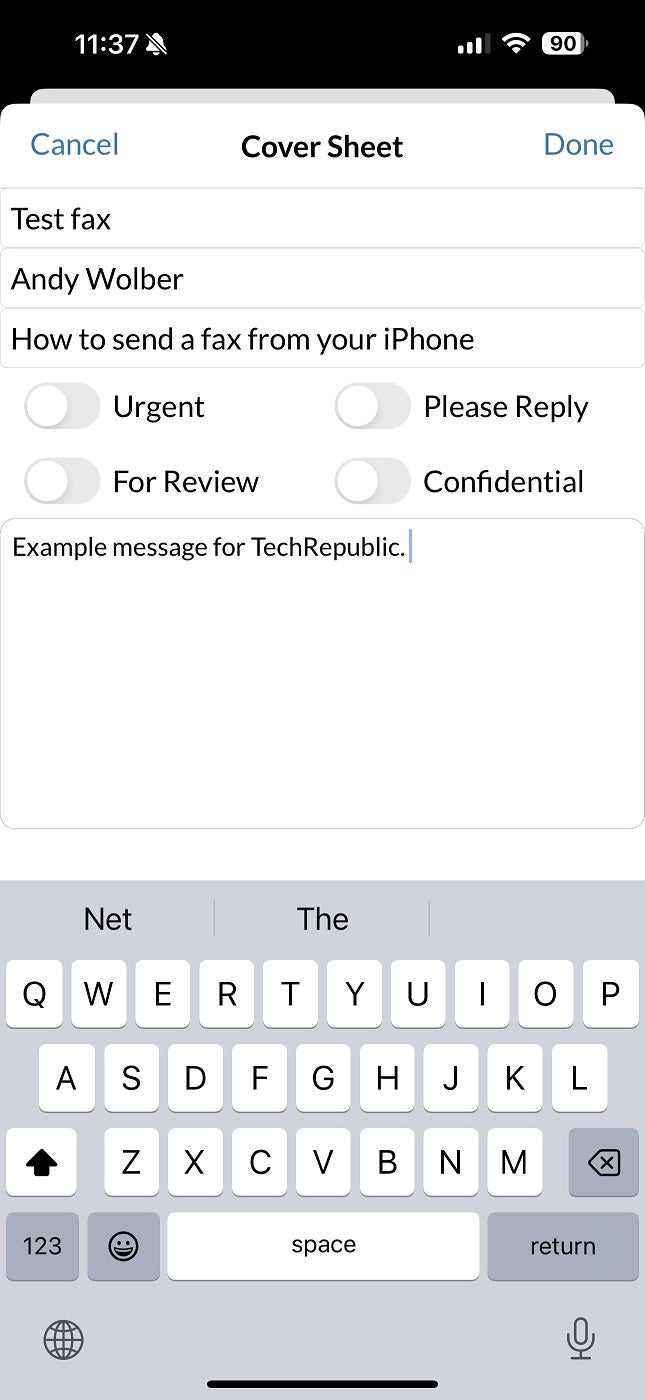
- Add Page, which allows you to fill out fields for a cover sheet, with a Name, Subject and a brief message, or enter a message with the Rich text Editor (Figure F).
Figure F:
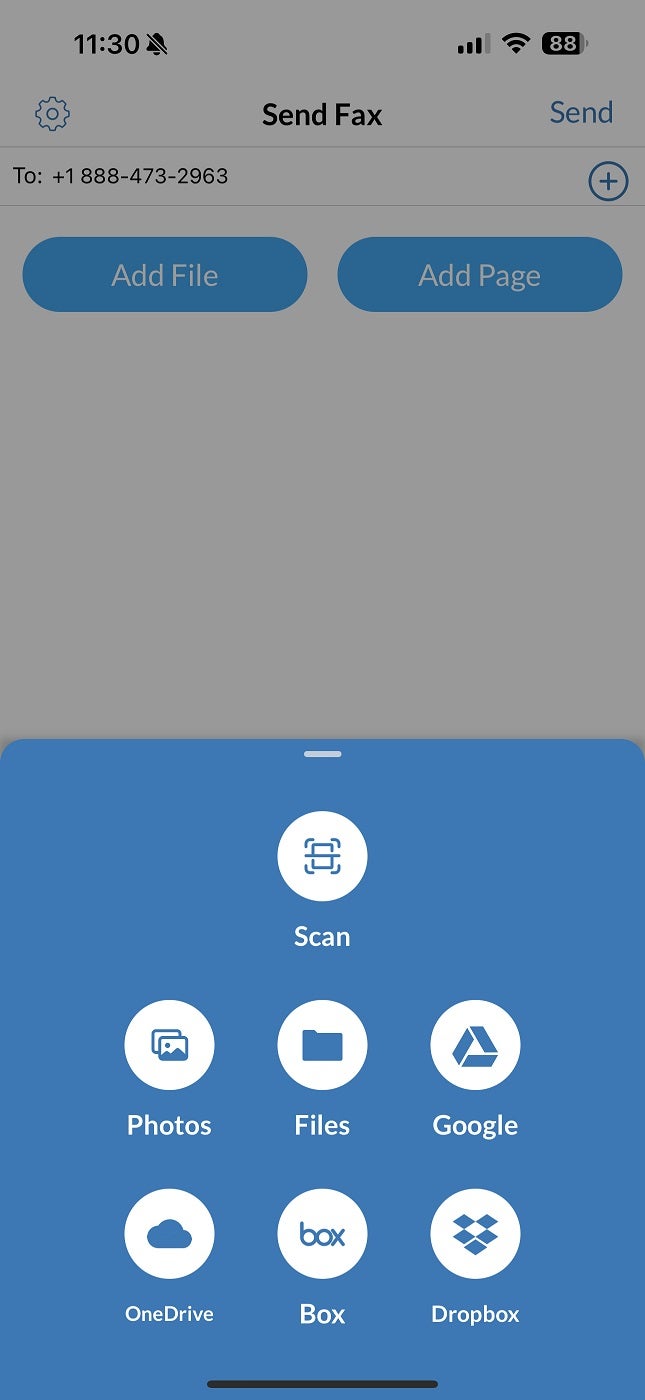
- Add File, which allows you to scan with your camera or select content from Photos, Files, Google, OneDrive, Box or Dropbox (Figure G).
Figure G:
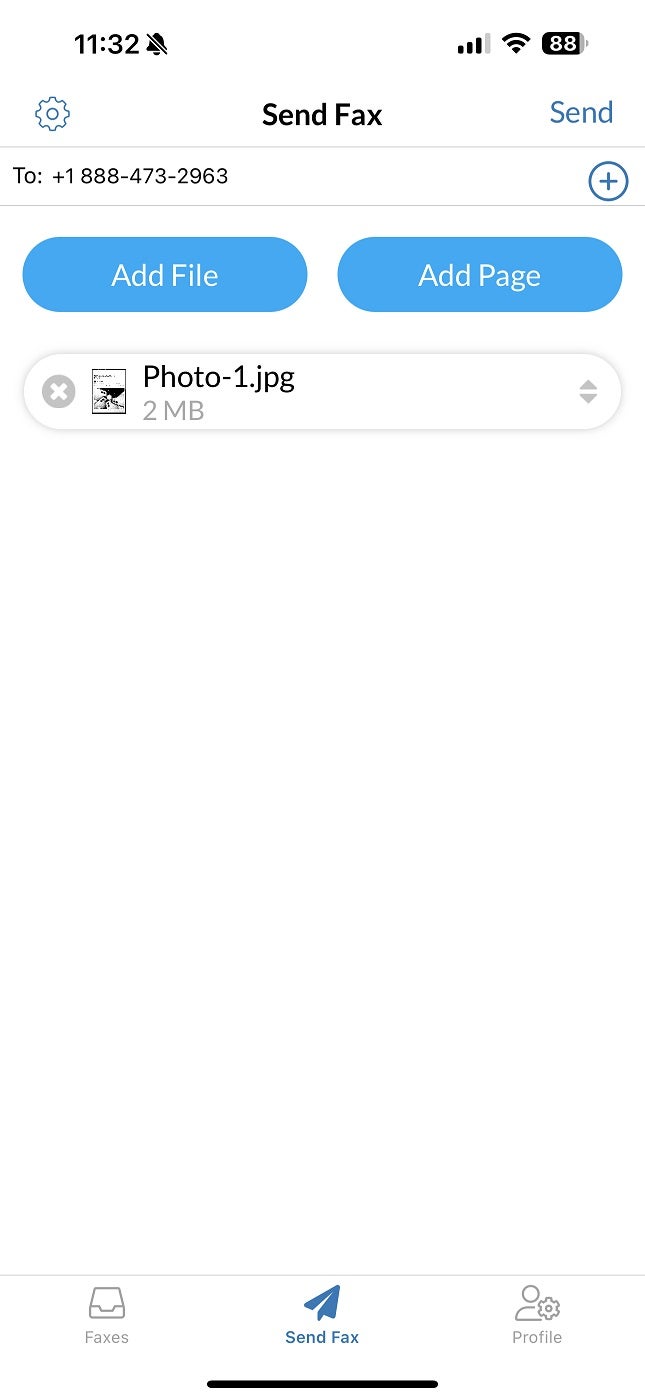
- Once you’ve added your content, tap and enter the fax number for your intended recipient(s) in the To: field (Figure H).
Figure H:
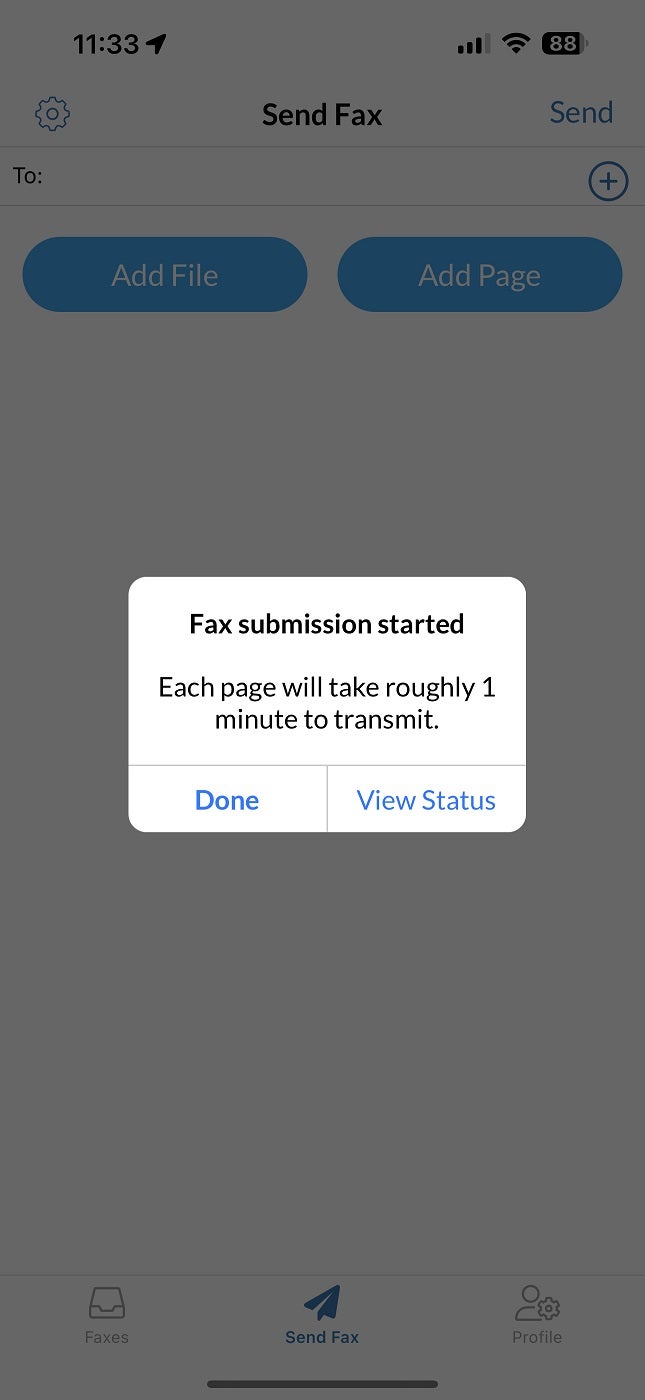
- Tap Send (Figure H, upper right corner). The system should display “Fax submission started” and indicate that “Each page will take roughly 1 minute to transmit” (Figure I).
Figure I:
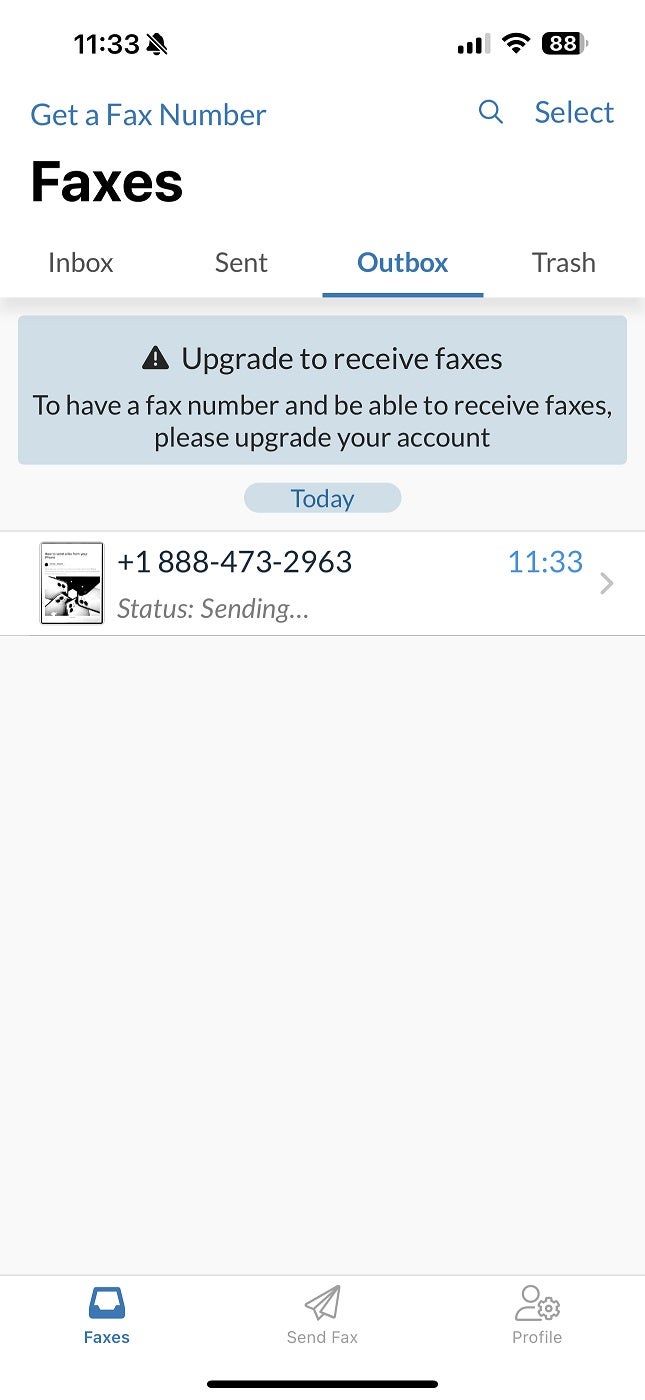
- Optionally, tap View Status. This takes you to the outbox, where your fax should first show a status of “Scheduled for sending” and then “Sending…” as it progresses (Figure J).
Figure J:
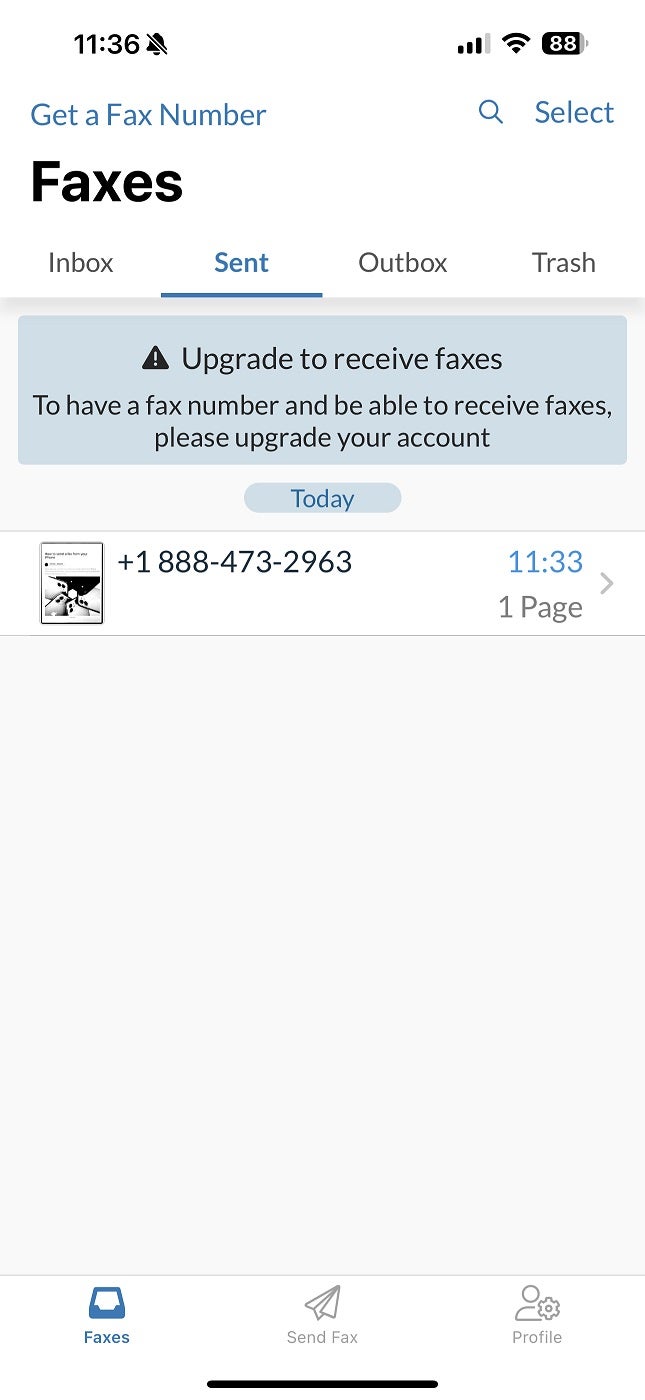
- Once the fax has been completed, you may review it in the “Sent” items list (Figure K).
Figure K:
Additional fax options for mobile devices
In addition to FAX.PLUS, you could try two other highly rated and popular fax apps:
All three of the apps mentioned in this article are also available in the Google Play store for Android devices, where they are listed as:
[ad_2]
Source Credit